Getting Online at Brasenose
This page provides steps for connecting your devices to the BrasenoseWifi network and for connecting to the wired network using an Ethernet cable. Before connecting, you must ensure you have activated your SSO as detailed on the IT Information for Freshers page.
For details of how to connect to Eduroam, please see the IT Services Eduroam guides.
Joining BrasenoseWifi
To begin connecting your wireless devices to the network you must first generate your unique Dynamic Pre-Shared Key – this is a single, secure key that you can then use to connect any of your wireless devices to BrasenoseWifi.
To generate your key, you can either:
A. Visit https://www.bnc.ox.ac.uk/MyNetwork from any device with an internet connection. This can be done from anywhere – even from home! Once the page has loaded, continue to step 1 of this guide.
OR
B. Connect to the onboarding network using a phone/laptop or another wifi-enabled device with a web browser. Look for an open wireless network called BNC-Onboarding and connect to it (no password is required).


Once connected to BNC-Onboarding, open a web browser on your device and you will be automatically redirected to the onboarding page. If you are not redirected straight away, please try navigating to any website (e.g. https://www.bbc.co.uk) and you will be redirected to the page shown in step 1 below.
Step 1
Read and agree to the terms and conditions, and then click Start:

Step 2
On the next page, select University of Oxford Single Sign On:

Step 3
You’ll be prompted to enter your SSO username on the next screen. Please enter your username in the format abcd1234@ox.ac.uk where abcd1234 is your Oxford SSO username.

Click Next and enter your password – this is the same password you use to log into your University email account. Next, click Sign in and authorise any prompts you receive for multi-factor authentication (MFA).
If you receive your MFA prompt via a push notification from the Microsoft Authenticator app you may need to open the app for the notification to appear.
Step 4
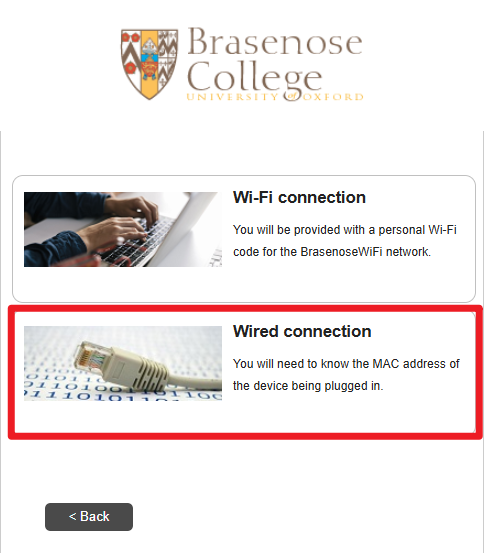
Once you’ve logged in successfully you will be given the option to set up a Wi-Fi connection or a wired connection. Select Wi-Fi connection:

On the next screen you will be provided with your personal Wi-Fi key. This can be used to join all your wireless-enabled devices to the network.
This key will be sent to your University email address for your records. We recommend that you save this email in a subfolder of your mailbox so you can quickly refer to it the next time you need to connect a device.
Please note that this key is unique to you and must never be shared with anyone else – you are liable for any unauthorised network activity that takes place over connections made using your credentials.
Step 5
Disconnect from and “forget” BNC-Onboarding and connect to BrasenoseWifi. When prompted, enter your newly generated key.
Joining the Wired Network
Before getting started you will need to know the MAC (hardware) address of the wired network adapter. Details of how to find the hardware address on some common devices can be found at the bottom of this page.
One you have found the MAC (hardware) address of your device, you can either:
a) Use any internet-enabled device to navigate to https://www.bnc.ox.ac.uk/MyNetwork – Once the page has loaded, continue to Step 1 of this guide.
OR
b) Connect the device you wish to register to an ethernet port – these are available in every student and academic room as well as the College libraries. If choosing this option, the device must have a web browser. When you open your web browser you will be automatically redirected to the onboarding page. If you are not redirected straight away, please try navigating to any website (e.g. http://www.bbc.co.uk) and you will be redirected to the onboarding portal. Continue to Step 1 below.
Step 1
Read and agree to the Terms & Conditions and then click Start:
Step 2
On the next page, select University of Oxford Single Sign On:
Step 3
You’ll be prompted to enter your SSO username on the next screen. Please enter your username in the format abcd1234@ox.ac.uk where abcd1234 is your Oxford SSO username:
Click Next and enter your password – this is the same password you use to log into your University email account. Next, click Sign in and authorise any prompts you receive for multi-factor authentication (MFA).
If you receive your MFA prompt via a push notification from the Microsoft Authenticator app you may need to open the app for the notification to appear.
Step 4
Once you’ve logged in successfully you will be given the option to set up a wifi connection or a wired connection. Select Wired connection:
Step 5
The next screen allows you to enter the unique MAC address of your device. Guidance on how to find your wired MAC address for Windows, MacOS, PS4 and Xbox One can be found below.
For other devices, please consult the user manual for your device (user manuals are generally available online – Google “[device make and model] user manual”.
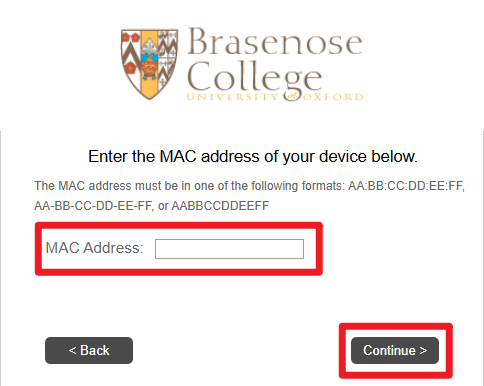
Click Continue after entering the MAC address and you will see a message confirming that your device has been successfully registered.
Step 6
Finally, if the device you have just registered is already plugged in via ethernet, you must disconnect the cable from the device and then plug it back in again to connect successfully.
Once your device is registered on the wired network it will be part of the same secure, personal network as any other devices you have registered on the Brasenose network, whether you’re connecting from a student room or a reading area in the College libraries.
Joining the Brasenose wired network if your device does not have a built-in web browser
If you have a device which uses a wired connection but has no built-in web browser, such as some models of printer, you can use another device such as a phone or laptop to register it using its wired MAC (hardware) address.
The MAC address for many devices is located on the underside or back of the device. Otherwise, you can consult the user manuals for your device online – Google “[device make and model] user manual”.
Once you have found the wired hardware address for your device, simply connect a wireless-enabled device to the BNC-Onboarding network and follow the instructions for joining the wired network using option B. Don’t forget to disconnect and reconnect the device to the network after you have registered it.
How to find the wired MAC (hardware) address on commonly used platforms
Operating Systems
Windows 11
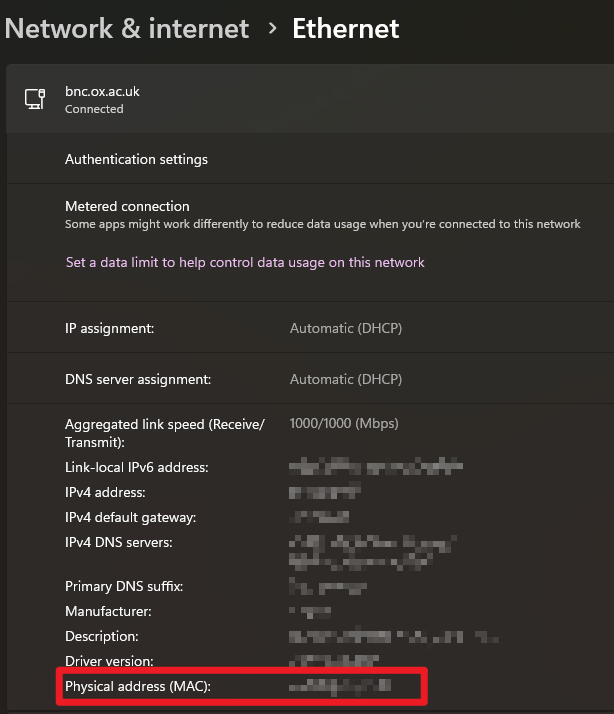
Open your Start menu and start typing Ethernet Settings. You will see the Ethernet Settings menu appear as a suggestion. Click on it to open the settings menu:

On the next screen under the ethernet heading, select your ethernet adapter:

At the bottom of this menu under Properties you will see Physical address (MAC) – this is the address you need to enter into the onboarding portal and follows the format AA:BB:CC:DD:EE:FF
MacOS
Go to the Apple menu > System Settings > Network.
Find your ethernet adapter and click “Details…”

On the next menu, select the Hardware tab. The MAC address will be listed there.

Game Consoles
PlayStation 5
Go to Settings via the gear icon on the home screen
Scroll down and select System. Then select Console Information.
Here you will see the MAC addresses for LAN (Ethernet) and Wi-Fi. The LAN (Ethernet) MAC is what you will need when onboarding your PS5 to the wired network.
Xbox
Navigate to your Settings menu, then select Network Settings followed by Advanced Settings.
The Wired MAC address can be found on this screen.